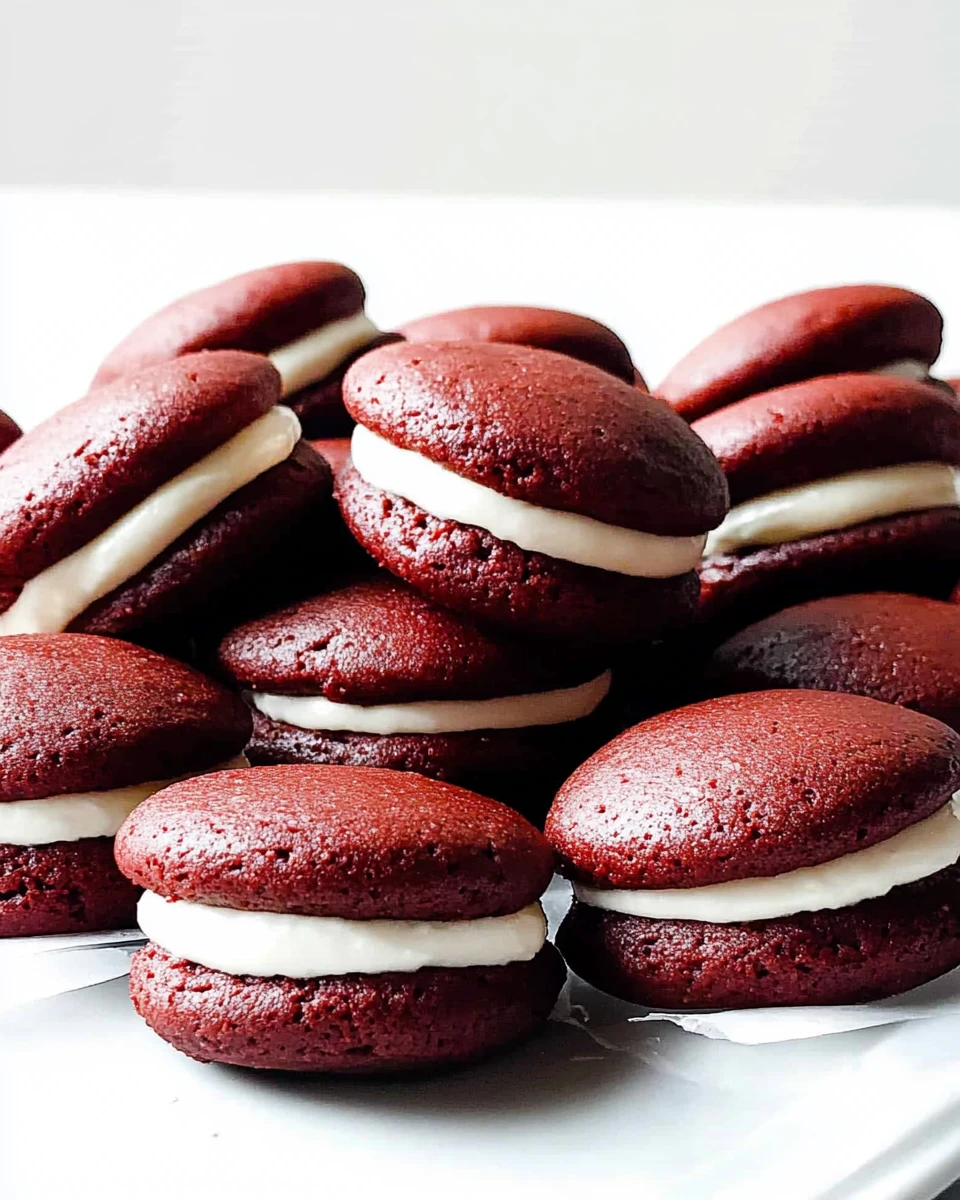
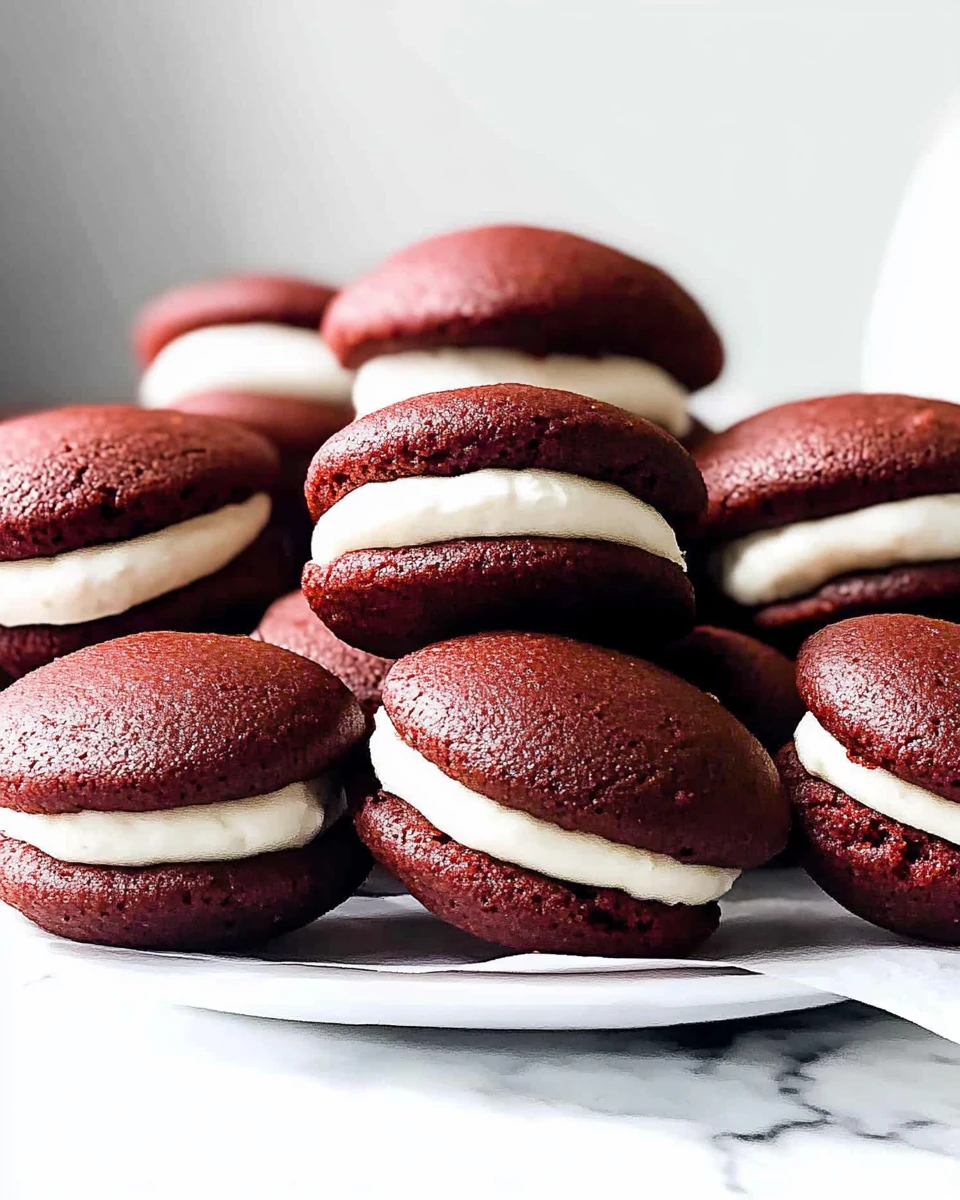
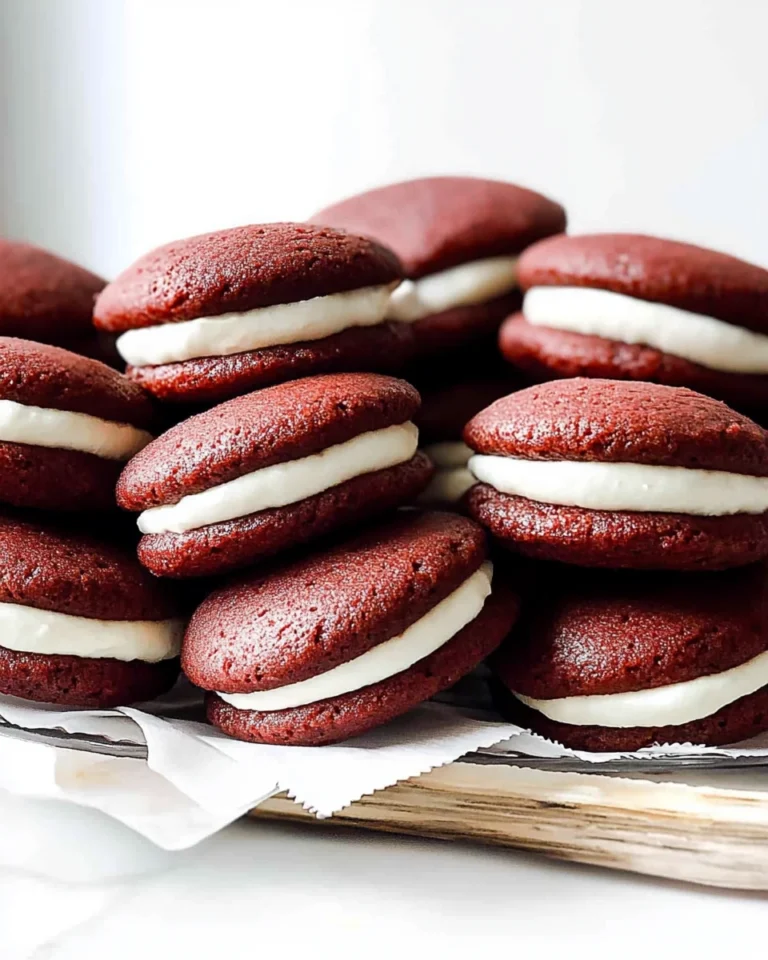
Mini Red Velvet Whoopie Pies are a delightful treat that bring joy to any gathering. They are soft, creamy, and oh-so-chocolatey! Imagine taking a bite of these beautiful, mini whoopie pies, where the rich red velvet flavor meets a luscious cream cheese frosting. It’s hard to resist! Whether it’s a special occasion or just a cozy day at home, these sweet bites are sure to make you smile.
Jump to:
- Why You’ll Love This Recipe
- The Delightful Flavor of Red Velvet
- Ingredients
- Preparing the Red Velvet Whoopie Pies
- Preheat the Oven
- Combine Dry Ingredients
- Mix Wet Ingredients
- Cream Butter and Sugar
- Add Egg and Vanilla
- Combine Mixtures
- Pipe the Batter
- Bake the Whoopie Pies
- Making the Cream Cheese Frosting
- Beat Butter and Cream Cheese
- Add Powdered Sugar
- Assembling the Whoopie Pies
- Pair the Whoopie Pies
- Pipe the Cream Cheese Frosting
- Serve and Enjoy
- Tips for Success
- Proper Storage
- Variations
- FAQs
- Conclusion
- More Easy Desserts & Sweets Recipes:
- 📖 Recipe Card
Why You’ll Love This Recipe
These mini red velvet whoopie pies are perfect for everyone. They are the ideal size for sharing, making them a great dessert for parties or casual get-togethers. Plus, the contrast of the soft cake and creamy frosting is simply irresistible. With their charming red color, they are just as appealing to the eyes as they are to the taste buds. Trust me, once you try them, they’ll become a favorite in your dessert repertoire!
The Delightful Flavor of Red Velvet
Red velvet is not just about the color; it also has a unique flavor. It’s a blend of chocolate and a touch of tanginess from the buttermilk and vinegar. This combination gives red velvet its signature taste that pairs perfectly with cream cheese frosting. The whoopie pies are soft and moist, making them a delightful indulgence. Each bite delivers that wonderful red velvet flavor, and the cream cheese frosting adds a smooth, sweet finish that will leave you wanting more!

Ingredients
To make these mini red velvet whoopie pies, gather the following ingredients:
- 2 ¼ cups all-purpose flour (280 g)
- 3 tablespoons black cocoa powder (15 g)
- ½ teaspoon baking powder
- ¼ teaspoon baking soda
- 1 teaspoon kosher salt
- ¾ cup buttermilk, room temperature (170 g)
- 2 teaspoons white vinegar
- 1 teaspoon red food gel
- ½ cup unsalted butter, room temperature (113 g)
- 1 cup granulated sugar (200 g)
- 1 large egg, room temperature
- 1 teaspoon vanilla extract
- ½ cup unsalted butter, room temperature (113 g)
- 6 oz block-style cream cheese, cold
- 1 ½ cups powdered sugar, sifted (170 g)
Make sure to gather everything before you start baking. This will help the process go smoothly and make it even more enjoyable!
Preparing the Red Velvet Whoopie Pies

Preheat the Oven
Let’s get started! First, preheat your oven to 350°F (175°C). While the oven is warming up, line two large baking sheets with parchment paper. For a bit of fun, take another piece of parchment paper and trace 2-inch circles on it. This will be your template to make sure all the whoopie pies are the same size. Space the circles about 1 inch apart.
Combine Dry Ingredients
In a medium bowl, mix together the all-purpose flour, black cocoa powder, baking powder, baking soda, and kosher salt. This step is important because it ensures that all the dry ingredients are evenly mixed. Once combined, set this mixture aside for later.
Mix Wet Ingredients
Now, grab a glass measuring cup and combine the buttermilk, white vinegar, and red food gel. This mixture is essential for creating that lovely red color and tangy flavor. Set this aside for when you’re ready to mix it with the other ingredients.
Cream Butter and Sugar
In the bowl of a stand mixer fitted with the paddle attachment, cream together the room temperature unsalted butter and granulated sugar. Beat this mixture on medium speed for 2-3 minutes, until it’s light and fluffy. This step is crucial because it helps incorporate air into the batter, giving your whoopie pies a soft texture.
Add Egg and Vanilla
Next, add the large egg and vanilla extract to the mixture. Make sure to scrape down the sides of the bowl. This ensures that everything is combined well and that you don’t miss any spots. Mix until the egg and vanilla are fully incorporated.
Combine Mixtures
Now comes the fun part! Gradually add half of the dry ingredients to the wet mixture. Mix just until combined. Then, add in the buttermilk mixture. Follow this by mixing in the remaining dry ingredients until everything is just combined. Be careful not to overmix; this helps keep your whoopie pies nice and light.
Pipe the Batter
To shape the whoopie pies, transfer the batter into a piping bag fitted with a medium piping tip. Place the template you made earlier under the parchment paper on the baking sheet. Pipe the batter into the circles. If you notice any points on the tops, gently pat them down with your finger. Once you’ve piped the batter, remove the template and repeat until all the batter is used.
Bake the Whoopie Pies
Pop the baking sheets into the oven and bake the whoopie pies for approximately 8 minutes. When they are done, the pies should look set and spring back when gently pressed. Allow them to cool completely on the baking sheets before moving them.
Making the Cream Cheese Frosting
Beat Butter and Cream Cheese
While the whoopie pies are cooling, let’s make the delicious cream cheese frosting! In the bowl of a stand mixer fitted with a paddle attachment, beat the room temperature unsalted butter and cold cream cheese on high speed. Keep mixing until the mixture is smooth and creamy. The combination of butter and cream cheese creates a rich frosting that complements the red velvet perfectly.
Add Powdered Sugar
Slowly add the sifted powdered sugar to the mixture. It’s important to mix on low speed to avoid a powdered sugar cloud! Continue mixing until the frosting is completely smooth without any lumps. This step is essential for achieving that silky texture.
Assembling the Whoopie Pies
Pair the Whoopie Pies
Now that your whoopie pies and frosting are ready, it’s time to assemble them! Take the cooled whoopie pies and pair them together. Find matching sizes; this will make them look neat and cute.
Pipe the Cream Cheese Frosting
Next, transfer the cream cheese frosting into a piping bag fitted with a small round piping tip. Pipe a generous amount of frosting onto the bottom of one whoopie pie. Then, gently press the paired pie on top of the frosting. This creates a delightful sandwich filled with that rich cream cheese goodness.
Serve and Enjoy
Your mini red velvet whoopie pies are now ready to be enjoyed! Serve them at room temperature or chilled if you prefer. These little treats are perfect for any occasion. They look stunning on a dessert table, and I promise your friends and family will be impressed!
Tips for Success
- Make sure all your ingredients are at room temperature. This helps with better mixing and a smoother batter.
- Avoid overmixing the batter! Overmixing can make the whoopie pies dense, and we want them to be light and airy.
Proper Storage
If you have any whoopie pies left (though I doubt it!), store them in an airtight container in the refrigerator for up to 5 days. They will stay delicious and fresh!
Variations
Want to switch things up? Here are some fun variations to consider:
- Substitute the cream cheese frosting with vanilla or chocolate frosting for a different flavor twist. Each frosting has its own unique charm!
- Add nuts or chocolate chips to the batter for extra texture and flavor. This little change can make a big difference!
FAQs
What can I use instead of buttermilk?
If you don’t have buttermilk, you can mix ¾ cup of milk with 1 tablespoon of lemon juice or vinegar. This will mimic the tangy flavor of buttermilk quite well.
Can I freeze whoopie pies?
Yes! You can freeze whoopie pies. Wrap them individually in plastic wrap and place them in an airtight container. They can be stored in the freezer for up to 3 months.
How do I know when they are done baking?
Lightly press the whoopie pies; they should spring back and not look wet in the center. This means they’re perfectly baked!
Can I use a different type of food coloring?
Absolutely! You can use any gel or liquid food coloring. However, red food gel gives the best color intensity for that classic red velvet look.
Conclusion
Now that you know how to make mini red velvet whoopie pies, gather your ingredients and treat yourself to these delicious treats. They are perfect for any occasion and are sure to impress everyone around you! Enjoy every bite of these delightful mini desserts!
More Easy Desserts & Sweets Recipes:
- Chocolate Eclair Cake
- Buttercream Icing for Cupcakes
- White Texas Sheet Cake
- Peanut Butter Balls with Rice Krispies
Did You Enjoy Making This Recipe? Please rate this recipe with ⭐⭐⭐⭐⭐ or leave a comment.
📖 Recipe Card
Print
Mini Red Velvet Whoopie Pies
Mini Red Velvet Whoopie Pies are delightful, soft, and filled with creamy frosting. Perfect for sharing, they add a touch of charm to any gathering.
- Total Time: 38 minutes
- Yield: 12 whoopie pies 1x
Ingredients
- 2 ¼ cups all-purpose flour (280 g)
- 3 tablespoons black cocoa powder (15 g)
- ½ teaspoon baking powder
- ¼ teaspoon baking soda
- 1 teaspoon kosher salt
- ¾ cup buttermilk, room temperature (170 g)
- 2 teaspoons white vinegar
- 1 teaspoon red food gel
- ½ cup unsalted butter, room temperature (113 g)
- 1 cup granulated sugar (200 g)
- 1 large egg, room temperature
- 1 teaspoon vanilla extract
- ½ cup unsalted butter, room temperature (113 g)
- 6 oz block-style cream cheese, cold
- 1 ½ cups powdered sugar, sifted (170 g)
Instructions
- Preheat your oven to 350°F (175°C) and line two baking sheets with parchment paper.
- Combine the dry ingredients in a medium bowl and set aside.
- Mix the wet ingredients in a glass measuring cup and set aside.
- Cream butter and sugar in a stand mixer until light and fluffy.
- Add egg and vanilla, and mix until combined.
- Gradually add the dry ingredients and buttermilk mixture, mixing just until combined.
- Pipe the batter onto the baking sheets using a template.
- Bake for approximately 8 minutes and allow to cool.
- Beat butter and cream cheese for the frosting until smooth.
- Add powdered sugar slowly and mix until smooth.
- Assemble the whoopie pies by pairing them and piping frosting between.
- Serve at room temperature or chilled.
Notes
Make sure all ingredients are at room temperature for better mixing.
Avoid overmixing the batter to keep the whoopie pies light and airy.
Store leftover whoopie pies in an airtight container in the refrigerator for up to 5 days.
- Prep Time: 30 minutes
- Cook Time: 8 minutes
- Category: Dessert
- Method: Baking
- Cuisine: American
Nutrition
- Calories: 220
- Sugar: 15g
- Sodium: 150mg
- Fat: 10g
- Saturated Fat: 5g
- Unsaturated Fat: 3g
- Trans Fat: 0g
- Carbohydrates: 29g
- Fiber: 1g
- Protein: 2g
- Cholesterol: 30mg


