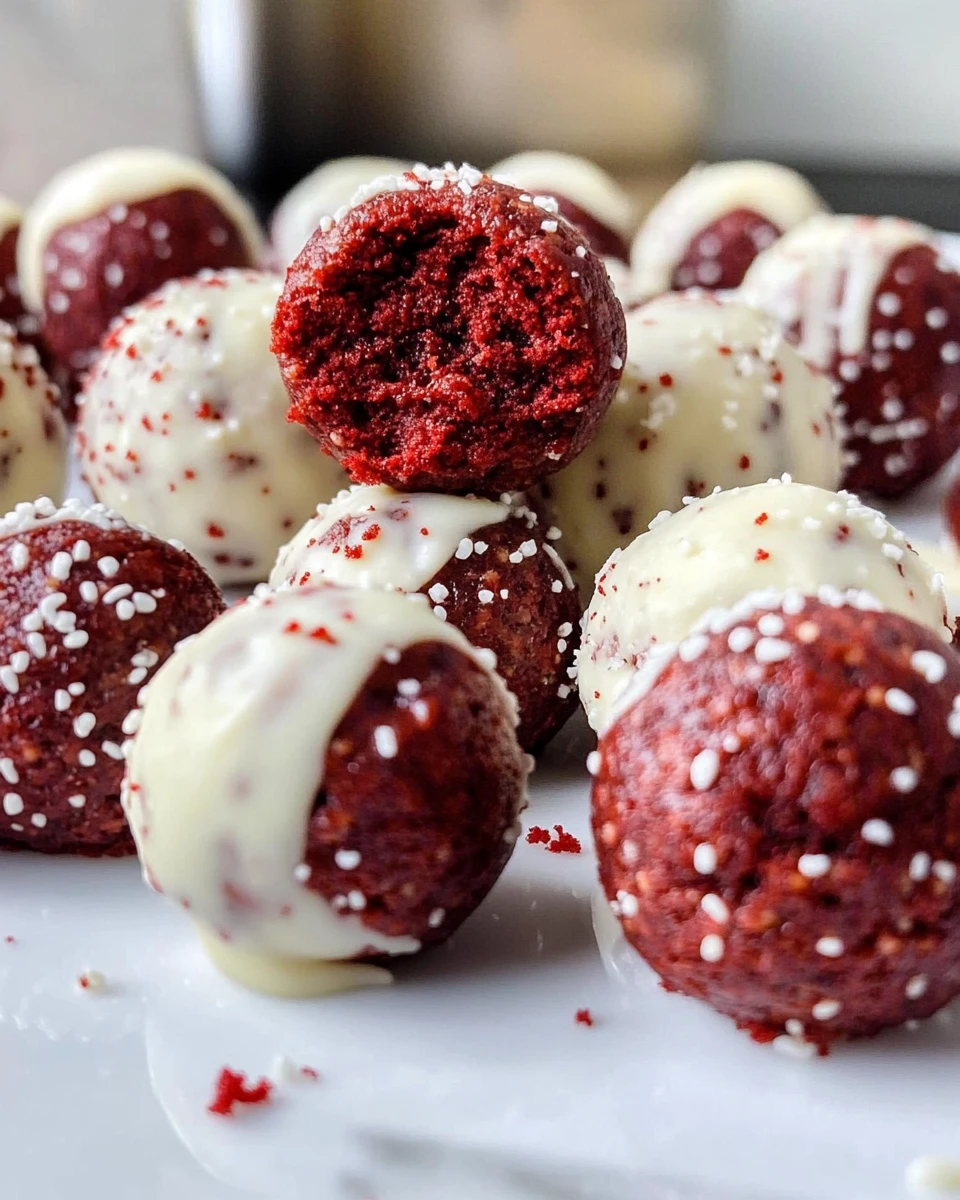
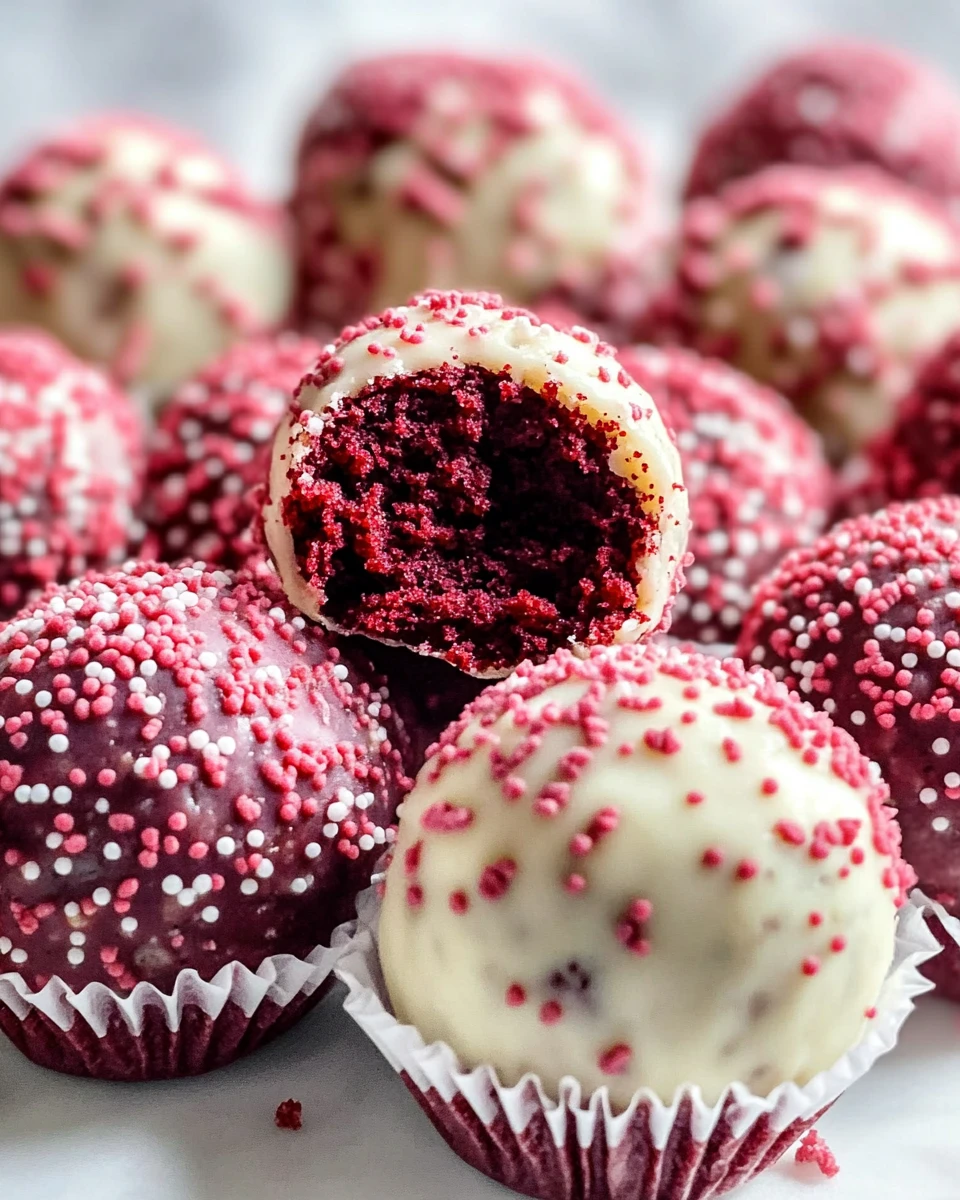
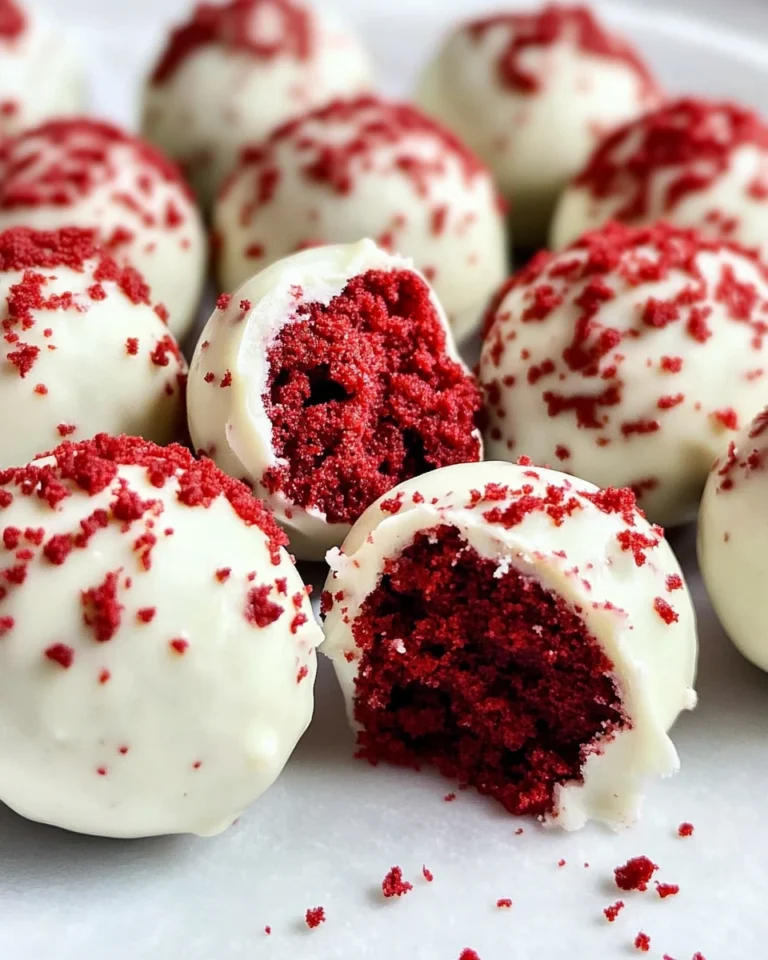
Red Velvet Cake Balls are one of those treats that make you smile with every bite. They are perfect for parties, celebrations, or just because you want something sweet. The rich flavor and creamy texture come together to create a delightful dessert. Let’s dive into this fun and easy recipe for Red Velvet Cake Balls that will surely impress your friends and family!
Jump to:
- Why You’ll Love This Recipe
- Indulge in a Luxurious Treat
- Ingredients
- Prepare the Cake
- Bake the Red Velvet Cake
- Crumble the Cake
- Create Cake Crumbs
- Mix with Cream Cheese
- Combine Ingredients
- Form the Truffles
- Roll Into Balls
- Melt the Chocolate
- Prepare the Chocolate Coating
- Coat the Cake Balls
- Dip and Decorate
- Final Touch
- Decorate with Chocolate Drizzle
- Set the Truffles
- Chill Until Firm
- Tips for Success
- Proper Storage
- Variations
- Pairing Ideas
- FAQs
- Conclusion
- More Easy Desserts & Sweets Recipes:
- 📖 Recipe Card
Why You’ll Love This Recipe
These Red Velvet Cake Balls are simply irresistible! First, they are super easy to make. You only need a few ingredients, and the steps are straightforward. Plus, they look beautiful with their vibrant red color and chocolate coating. Not to mention, the taste is a mix of delicious cake and creamy frosting all in one bite. Whether you are a beginner or a seasoned baker, this recipe will bring joy to your kitchen.
Indulge in a Luxurious Treat
Imagine biting into a soft, rich cake ball covered in smooth chocolate. With each bite, you taste the sweet flavor of red velvet mingling perfectly with cream cheese. These cake balls are not just treats; they are an experience! You can serve them at parties or keep them all to yourself. They are great for sharing, but believe me, you might want to keep a few for yourself!
Ingredients
To make these delightful cake balls, you will need:
- 1 box red velvet cake mix (plus ingredients listed on the box to prepare the cake)
- 1 (8 oz) package cream cheese (1/3 less fat), softened
- 1 (12 oz) package chocolate chips (milk, dark, or white)
- 2 teaspoons vegetable oil (optional)
These simple ingredients will create a scrumptious dessert that will wow anyone who tries it!
Prepare the Cake
Bake the Red Velvet Cake
Start by preparing the cake mix according to the package instructions. This usually involves mixing the cake mix with eggs, water, and oil. Pour the mixture into a greased cake pan. Bake it in a preheated oven until a toothpick inserted in the center comes out clean. Once it’s done, allow it to cool completely. This step is super important! You don’t want to crumble a hot cake.
Crumble the Cake
Create Cake Crumbs
When the cake is completely cooled, it’s time to crumble it. You can use a fork or your hands for this step. Just break the cake into fine crumbs in a large bowl. The more even the crumbs, the better the cake balls will hold together later!
Mix with Cream Cheese
Combine Ingredients
Next, add the softened cream cheese to the bowl of cake crumbs. This is where the magic happens! Using your hands, knead the mixture gently until the cream cheese is fully incorporated with the crumbs. The mixture should be moist and hold together when you squeeze it. If it’s too dry, you can add a little more cream cheese.
Form the Truffles
Roll Into Balls
Now, it’s time to form the cake balls! Scoop about one heaping tablespoon of the mixture and roll it into a ball. You should be able to make about 42 cake balls from this recipe. Place them on a wax paper-lined baking sheet. Once you have rolled all the mixture, pop the baking sheet in the fridge. Let them chill for at least 30 minutes. This helps them firm up and makes dipping in chocolate much easier!
Melt the Chocolate
Prepare the Chocolate Coating
While the cake balls are chilling, let’s melt the chocolate! In a heatproof bowl, add the chocolate chips. You can use milk, dark, or white chocolate, depending on your preference. Melt the chocolate in the microwave in 30-second intervals, stirring in between. Be careful not to overheat it! If you want a thinner consistency, stir in the vegetable oil. This helps the chocolate coat the cake balls more smoothly.
Coat the Cake Balls
Dip and Decorate
Once the cake balls are chilled and your chocolate is melted, it’s time for the fun part! Remove the cake balls from the fridge. Dip each ball into the melted chocolate, making sure to coat it evenly. Use a fork to lift them out, letting any excess chocolate drip off before placing them back on the baking sheet. They should be covered in a nice layer of chocolate.
Final Touch
Decorate with Chocolate Drizzle
For a fancy touch, you can decorate your cake balls with a chocolate drizzle. Pour any leftover melted chocolate into a small zip-top bag. Cut off one corner to create a tiny opening. Then, pipe the chocolate in a fun design on top of each truffle. This adds a beautiful finish to your delicious treats!
Set the Truffles
Chill Until Firm
Now, it’s time to let the chocolate set. Return the truffles to the fridge for about 15 minutes or until the chocolate is firm. This step makes sure everything stays together perfectly.

Tips for Success
Here are some helpful tips to ensure your cake balls turn out amazing:
- Cooling is Key: Make sure the cake is completely cooled before crumbling. This helps to achieve the best texture.
- Experiment with Chocolate: Try different types of chocolate for unique flavors. You might discover a new favorite!
Proper Storage

If you have any leftover truffles (which is rare!), store them in an airtight container in the refrigerator. They will stay fresh for up to one week. Just make sure to keep them chilled to maintain their texture.
Variations
Feel free to get creative with this recipe! Here are a few fun variations:
- Frosting Swap: Substitute cream cheese with a flavored frosting, like vanilla or chocolate, for a different taste.
- Crunchy Toppings: Add crushed nuts or colorful sprinkles to the chocolate coating for extra crunch and decoration.
Pairing Ideas
These delicious red velvet cake truffles pair perfectly with different drinks. Try them with a glass of milk for a classic combo, or enjoy them with a cup of coffee for a delightful afternoon treat. They also go wonderfully with a sweet dessert wine for a more sophisticated pairing!
FAQs
1. Can I use homemade red velvet cake instead of a mix?
Absolutely! Homemade red velvet cake works great. Just make sure it’s fully cooled before crumbling.
2. How long will these truffles last?
Stored properly in an airtight container in the fridge, they will last up to one week.
3. Can I freeze these truffles?
Yes, you can freeze them for up to three months. Just thaw them in the fridge before serving for the best taste.
4. What’s the best way to decorate the truffles?
You can drizzle melted chocolate over the top or sprinkle with colored sugar or crushed nuts for a fun touch.
Conclusion
Now you know how to make delightful Red Velvet Cake Truffles! With their rich flavor and beautiful presentation, these truffles are sure to impress your loved ones. Dive into this scrumptious recipe and enjoy a sweet treat that’s perfect for any occasion! Whether you share them or keep them for yourself, these cake balls will bring happiness to any dessert table!
More Easy Desserts & Sweets Recipes:
- Chocolate Eclair Cake
- Buttercream Icing for Cupcakes
- White Texas Sheet Cake
- Peanut Butter Balls with Rice Krispies
Did You Enjoy Making This Recipe? Please rate this recipe with ⭐⭐⭐⭐⭐ or leave a comment.
📖 Recipe Card
Print
Red Velvet Cake Balls
These Red Velvet Cake Balls are a sweet, easy-to-make treat that combines the flavors of rich red velvet cake and creamy frosting, all in one bite.
- Total Time: 1 hour
- Yield: 42 cake balls 1x
Ingredients
- 1 box red velvet cake mix (plus ingredients listed on the box to prepare the cake)
- 1 (8 oz) package cream cheese (1/3 less fat), softened
- 1 (12 oz) package chocolate chips (milk, dark, or white)
- 2 teaspoons vegetable oil (optional)
Instructions
- Prepare the cake mix according to package instructions and bake.
- Allow the cake to cool completely before crumbling it into fine crumbs.
- Mix the crumbled cake with softened cream cheese until fully combined.
- Roll the mixture into about 42 balls and chill for 30 minutes.
- Melt the chocolate chips and optionally add vegetable oil for a thinner consistency.
- Dip each chilled cake ball into the melted chocolate and place them on a baking sheet.
- Chill again until the chocolate is firm, then decorate with chocolate drizzle if desired.
Notes
Ensure the cake is completely cooled before crumbling to achieve the best texture.
Feel free to experiment with different types of chocolate for unique flavors.
- Prep Time: 30 minutes
- Cook Time: 30 minutes
- Category: Dessert
- Method: Baking, Chilling, Dipping
- Cuisine: American
Nutrition
- Calories: 120
- Sugar: 10
- Sodium: 100
- Fat: 6
- Saturated Fat: 3
- Unsaturated Fat: 2
- Trans Fat: 0
- Carbohydrates: 15
- Fiber: 0
- Protein: 2
- Cholesterol: 10


